1.เปิดไฟล์ใหม่ 500X500 พิ้นใสหรือพี้นขาว
![](http://i275.photobucket.com/albums/jj311/kritiya2008/flag-furl-shade-effect1.gif)
2. ตั้งค่า Foreground Color ตามรูป
![](http://i275.photobucket.com/albums/jj311/kritiya2008/flag-furl-shade-effect2.gif)
3. เพิ่มเลเยอร์ เลือกเครื่องมือ Rectangular Marquee Tool ลากเลือกขนาดและเทสี โดยไม่ยกเลิกซีเลคชั่น
![](http://i275.photobucket.com/albums/jj311/kritiya2008/flag-furl-shade-effect3.gif)
4.เพิ่เลเยอร์ แล้วเลือกเครื่องมือ Gradient Tool ตั้งค่า ตามรูป
![](http://i275.photobucket.com/albums/jj311/kritiya2008/flag-furl-shade-effect4.gif)
![](http://i275.photobucket.com/albums/jj311/kritiya2008/flag-furl-shade-effect5.gif)
5.ลากเตรื่องมือ Gradient Toolจะได้ดังรูป
![](http://adobeperson.com/wp-content/uploads/2007/11/flag-furl-shade-effect6.gif)
6.และปรับค่า Opacity ตามรูป
![](http://i275.photobucket.com/albums/jj311/kritiya2008/flag-furl-shade-effect7.gif)
7ยกเลิกซีเลคชั่น แล้ว.ทำการ Merge Down เลเยอร์ 1+เลเยอร์ 2
![](http://i275.photobucket.com/albums/jj311/kritiya2008/flag-furl-shade-effect8.gif)
8.จะได้ดังรูป
![](http://i275.photobucket.com/albums/jj311/kritiya2008/b6b16276.png)
9.เข้าไปที่ Filter>Distort>Wave ำตั้งค่าตามรูป หรือตามชอบ
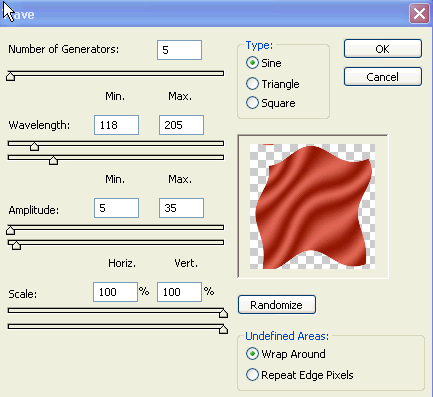
![](http://i275.photobucket.com/albums/jj311/kritiya2008/9faa99ba.png)
10.จะได้รูป
![](http://i275.photobucket.com/albums/jj311/kritiya2008/43f46ddf.png)
11.เข้าไป ที Shape Tool แล้วเลือกตามชอบ
![](http://i275.photobucket.com/albums/jj311/kritiya2008/flag-furl-shade-effect12.gif)
12.เพิ่มเลเยอร์ใหม่ เลือกshape และเปลี่ยนเป็น สีขาว
![](http://i275.photobucket.com/albums/jj311/kritiya2008/5555-1.png)
13. ปรับค่า opacity
![](http://i275.photobucket.com/albums/jj311/kritiya2008/flag-furl-shade-effect17.gif)
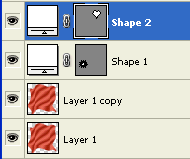
14..ก๊อปปี้เลเยอร์ตามรูป และเปลี่ยนที่ Blending Mode Multiply และทำการ merrge layer ทั้งหมด
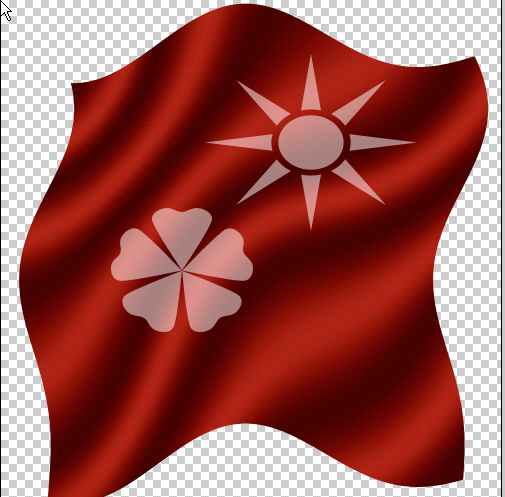
![](http://i275.photobucket.com/albums/jj311/kritiya2008/14d67df4.png)
15.จะได้ดังรูป
![](http://i275.photobucket.com/albums/jj311/kritiya2008/7777.png)
![](http://i275.photobucket.com/albums/jj311/kritiya2008/Untitled-1-5.gif)